
Side Dishes
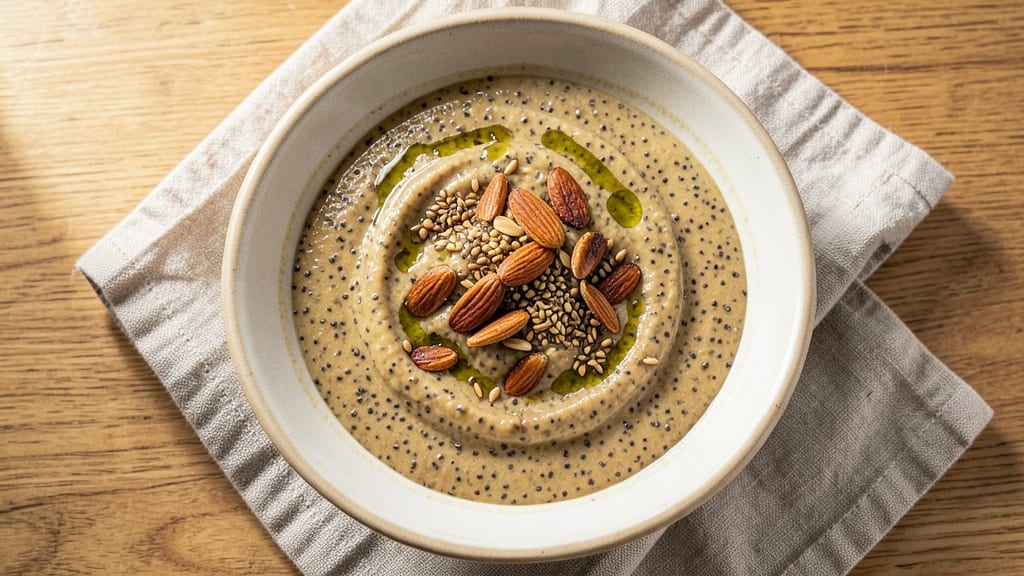
This almond chia bread recipe delivers a perfectly gluten-free loaf with a nutty crunch and satisfying rise—no refined flour or artificial additives in sight. The secret lies in combining almond flour’s richness with chia seeds’ natural binding power, creating a texture that’s both hearty and light.
I developed this recipe after years of searching for a gluten-free bread that actually holds together without tasting like cardboard. What sets this apart is the foolproof technique that ensures a tall, even rise while keeping the crumb tender.
No special equipment is needed—just a standard loaf pan and a 350°F oven for about 45 minutes. The chia seeds not only bind the dough but also add fiber, omega-3s, and a subtle earthy depth that pairs beautifully with spreads, jams, or as a base for breakfast sandwiches.
By the time it’s done, you’ll have a golden, fragrant loaf with a crisp exterior and a moist, nutty interior. The almond flour gives it a naturally sweet, buttery flavor, while the chia seeds add a satisfying crunch.
This bread stays fresh for 5-7 days when stored properly, making it perfect for meal prep or gifting. Whether you’re gluten-free, plant-based, or just craving something wholesome, this recipe delivers a restaurant-quality loaf at home—without the fuss. Let’s get baking!
Ingredients for almond chia bread
Gluten-free essentials that create a loaf with restaurant-quality texture and flavor.
| Ingredient | Amount | Notes |
|---|---|---|
| Almond Flour 🌰 | 3 cups | Finely ground, unsweetened |
| Chia Seeds 🌱 | ½ cup | Organic, whole seeds |
| Ground Flaxseed 🌾 | ¼ cup | Freshly ground preferred |
| Coconut Sugar 🍯 | ¼ cup | For natural sweetness |
| Extra-Virgin Olive Oil 🫒 | ½ cup | Cold-pressed, fruity |
| Unsweetened Almond Milk 🥛 | 1 ¼ cups | Vanilla or plain |
| Apple Cider Vinegar 🍏 | 1 tbsp | For activation |
| Baking Powder 🍞 | 1 tsp | Aluminum-free preferred |
| Salt 🧂 | ½ tsp | Fine sea salt |
| Vanilla Extract 🌸 | 1 tsp | Pure alcohol-free |
| Psyllium Husk Powder 🌿 | 1 tbsp | For improved texture |
| Lemon Zest 🍋 | 1 tbsp | Freshly grated |
Almond flour is the backbone here—Bob’s Red Mill or Anthony’s Goods are my go-tos for consistent grind. The chia seeds must be whole, not pre-ground, for proper binding. Trader Joe’s carries organic chia seeds in bulk, which is ideal. Psyllium husk powder is non-negotiable for that tender crumb; it’s available at health food stores or online. For the almond milk, unsweetened versions like Silk or Califia Farms work perfectly, but any plain almond milk will suffice. The lemon zest adds brightness that elevates the nutty base—always use fresh, never bottled.
No almond flour? Cashew flour at 1:1 ratio works in a pinch, though texture will differ slightly. Substitute coconut sugar with maple syrup at 3:4 ratio, but reduce almond milk by 2 tbsp to balance moisture. Apple cider vinegar can be swapped for white vinegar at equal measure. For vanilla extract, vanilla bean paste adds depth if you prefer. The psyllium husk is tricky—if unavailable, extra ground flaxseed at 1:1 helps, though results may be less tender. Always measure ingredients by weight for precision, especially the flours and seeds.
Store the baked loaf in an airtight container with a paper towel to retain moisture—lasts 5-7 days at room temperature. For longer storage, slice and freeze portions for up to 3 months. Reheat slices in a toaster or oven for 2-3 minutes at 350°F. The psyllium-based dough firms up quickly after mixing, so prepare the batter immediately. If making ahead, store the wet ingredients separately and combine just before baking for optimal texture.
Why You'll Love This Recipe
- No Mixer Needed: I swear by this—just stir, pour, bake. The chia and flaxseed thicken the batter naturally, so no eggs or complicated ratios. Honestly, my blender gets used more for smoothies after making this.
- Nutty-Sweet Magic: That almond flour gives it a toasty depth, while the coconut sugar caramelizes just enough to make every slice taste like a treat. Between us, I’ve caught myself sneaking extra while "checking" the oven.
- Breakfast or Snack: Slice it thick for French toast, toast it thin for a crunchy snack, or pack it for lunch—it holds up everywhere. My kids ask for it cold with peanut butter, and I still eat mine warm with almond butter. (Yes, even on a Tuesday night.)
- Zero Waste, Double Use: The chia and flaxseed soak up moisture perfectly, so a loaf lasts nearly a week without drying out. Plus, the leftovers? Toss them in muffins or pancakes—they disappear faster than my willpower around bread.
Step-by-step instructions for almond chia bread
This gluten-free loaf delivers perfect texture and nutty flavor through precise technique.
Activate the Chia Seeds and Flaxseed
In a small bowl, whisk together the 0.5 cup chia seeds and 0.25 cup ground flaxseed with 1.25 cups unsweetened almond milk. Let this mixture sit for 10 minutes until it thickens into a gel-like consistency—this is what creates the bread's structure. You'll see it transform from liquid to a pudding-like texture, which is crucial for binding the gluten-free ingredients.
While waiting, measure out the 3 cups almond flour and 1 tbsp psyllium husk powder in a separate large bowl. The psyllium husk is particularly important here—it mimics gluten's elasticity, so don't skip this step. Sift the almond flour and psyllium together to prevent any clumping that could affect the bread's texture.
Combine Wet and Dry Ingredients
To the chia-flax gel, add the 0.5 cup extra-virgin olive oil, 0.25 cup coconut sugar, 1 tbsp apple cider vinegar, 1 tsp vanilla extract, 1 tbsp lemon zest, 1 tsp baking powder, and 0.5 tsp salt. Mix thoroughly until just combined—overmixing can develop gluten-like properties in the almond flour, making the bread dense rather than light.
Gradually fold in the sifted almond flour mixture using a spatula. The dough will be thick and sticky, but don't be tempted to add more almond milk. The moisture content is critical for achieving that perfect crumb structure. You're aiming for a consistency similar to thick cookie dough, where the batter holds its shape when dropped from a spoon.
Prepare the Loaf Pan
Preheat your oven to 350°F and grease an 8x4-inch loaf pan generously with olive oil or line it with parchment paper. Tap the pan lightly on the counter to remove any air bubbles that might have formed in the batter. This ensures even baking and prevents cracks in the crust.
Pour the batter into the prepared pan and smooth the top with a spatula. The batter will fill about ¾ of the pan—don't overfill, as gluten-free batters don't rise as dramatically as wheat-based ones. Place the pan on a baking sheet to catch any potential overflow during baking.
Bake Until Golden and Springy
Bake for 45-50 minutes until the top is golden brown and a toothpick inserted in the center comes out clean. The bread will look dense but should feel springy to the touch when gently pressed. If the top browns too quickly, tent the pan with foil after 30 minutes to prevent over-browning while the center cooks.
Gluten-free breads can dry out easily, so I recommend checking for doneness at the 40-minute mark. The internal temperature should reach 205-210°F—this is your best indicator of proper doneness. Remove from the oven and let cool in the pan for 10 minutes before transferring to a wire rack to cool completely.
Slice and Serve
Once fully cooled, remove the bread from the pan and slice into 8 even portions using a serrated knife. The interior should have a fine, even crumb with no large holes. If the bread seems dry after cooling, lightly brush the slices with a mixture of 1 tbsp melted olive oil and 1 tsp honey for added moisture and flavor.
This bread keeps well at room temperature for 3 days or can be frozen for up to 1 month. For best results, wrap individual slices in plastic wrap to maintain freshness. The nutty flavor pairs beautifully with jam, nut butter, or as a base for gluten-free French toast.
Pro Tips For Making Almond Chia Bread
- Soak Chia Seeds: Toss them in warm water first—just 2 tablespoons chia seeds to 6 tablespoons water—and let sit for 10 minutes. I learned this the hard way: dry chia seeds absorb moisture unevenly, leaving pockets of dryness in your bread. This step guarantees a tender crumb.
- Measure Almond Flour Right: Spoon it into your measuring cup, then level it off with a knife—don’t scoop directly from the bag. Almond flour packs differently, and you’ll end up with a dense loaf if you overdo it. Trust me, your bread will thank you.
- Use Cold Olive Oil: Chill the oil in the fridge for 10 minutes before mixing—it behaves better in the batter. Warm oil incorporates too easily, making the dough greasy and hard to shape. Cold oil keeps the texture just right.
- Bake Low and Slow: Preheat to 325°F (not 350°F) and bake for 50–60 minutes. I was impatient and cranked the heat, but the outside burned before the center set. Low heat ensures even cooking without drying out the almond flour.
Troubleshooting your almond chia bread
Dense Texture Issues
If your bread turns out dense instead of light and airy, it’s likely due to overmixing or insufficient activation of the chia-flax gel. Mix the wet and dry ingredients just until combined—overworking the almond flour can create a tough, dense crumb.
Also, ensure your chia-flax gel is fully thickened (like pudding) before combining. If the gel isn’t thick enough, the bread will lack structure. 🌰
For a quick fix, try adding 1 extra tablespoon of psyllium husk powder to the dry ingredients next time. This mimics gluten’s elasticity and improves rise. If you’re using pre-ground chia seeds, grind them fresh—they bind better when whole.
Avoid adding extra liquid, as this can make the crumb gummy rather than tender.
Cracked or Sunken Top
A cracked or sunken top usually means the batter was too wet or the oven temperature fluctuated. To prevent this, ensure your batter is thick enough to hold its shape when dropped from a spoon.
If it’s too runny, add 1-2 tablespoons more almond flour to thicken it. Also, place the loaf pan on a baking sheet to catch any overflow and prevent air bubbles from forming.
If the top browns too quickly, tent the pan with foil after 30 minutes of baking. This helps the center cook evenly without over-browning. For extra insurance, bake at 325°F instead of 350°F—this slower temperature gives the bread time to rise properly without cracking. 🔥
Dry or Crumbly Crust
Gluten-free breads dry out faster than wheat-based ones, especially if they cool too quickly. Let the bread cool in the pan for 10 minutes before transferring to a wire rack to retain moisture.
If the crust feels dry, brush the cooled loaf with a mix of 1 tablespoon melted olive oil and 1 teaspoon honey to restore softness.
To keep the bread moist longer, store it in an airtight container with a paper towel to absorb excess moisture. If the crumb is crumbly, it may be due to over-baking.
Check for doneness at 40 minutes—the internal temperature should be 205-210°F, not higher. For extra tenderness, reduce the baking powder to ½ teaspoon next time.
Bread Didn’t Rise
A flat loaf often means the baking powder wasn’t fresh or the oven temperature was too low. Always use fresh baking powder—old powder loses its lift. Preheat your oven for at least 15 minutes to ensure it reaches 350°F accurately.
If your oven runs hot, reduce the temperature to 325°F for a slower, more even rise.
For added lift, whisk the baking powder with the dry ingredients before mixing. If you’re at high altitude, increase the baking powder to 1.5 teaspoons and reduce the almond milk by 2 tablespoons.
Avoid opening the oven door during the first 30 minutes of baking, as temperature drops can stall the rise. ✨
Sticky or Gummy Texture
A gummy texture usually means too much liquid or underbaked bread. Double-check your measurements—especially the almond milk and chia-flax gel. If the batter seems too wet, add 1-2 tablespoons more almond flour to absorb excess moisture. Bake for an additional 5-10 minutes if the center feels underdone, but avoid over-baking.
For a firmer texture, let the bread cool completely before slicing. If it’s still sticky after baking, try reducing the olive oil by 1 tablespoon next time. The psyllium husk helps with structure, so ensure it’s fully dissolved in the wet ingredients before mixing.
If all else fails, slice the bread thinly and toast it for 1-2 minutes to crisp up the texture.
Nutrition facts
Frequently asked questions
Why does this almond chia bread need psyllium husk?
Psyllium husk mimics gluten's elasticity, creating that perfect rise and tender crumb. Without it, the bread would be dense and crumbly. The 1 tablespoon in this recipe is key—it absorbs moisture while adding structure, making the loaf light yet sturdy enough to slice.
Can I substitute almond flour with another gluten-free flour?
Yes, but results vary. For a 1:1 swap, try cashew flour (similar texture) or oat flour (adds mild sweetness). Avoid rice flour—it makes the bread gummy. If using coconut flour, reduce by 25% and add 2 extra tablespoons almond milk per cup.
How do I make this bread sweeter or more flavorful?
Add 1-2 tablespoons maple syrup or 1 teaspoon cinnamon to the batter for warmth. For extra richness, fold in 2 tablespoons chopped walnuts or pecans before baking. A drizzle of melted dark chocolate after cooling adds decadence!
Is this bread safe for nut allergies?
No—this recipe contains almond flour, which is a tree nut. For nut-free versions, swap almond flour for sunflower seed flour or oat flour (certified gluten-free). Always check labels on chia/flax seeds for cross-contamination warnings.
Why does my bread turn out crumbly after baking?
Crumbly texture usually means over-baking or insufficient moisture. Check doneness at 40 minutes—the internal temp should be 205-210°F. If dry, brush warm slices with melted olive oil and 1 teaspoon honey. For future bakes, reduce baking powder to ½ teaspoon.